

Are you prepared to set out on a voyage of self-discovery and introspection as a lone traveller? One feels a strong urge to capture these moments in time and impart the beauty and soul of their solo journeys to the world as they traverse new landscapes and immerse themselves in varied cultures. Do not be afraid, fellow explorer! This is a beginner’s tutorial designed to provide you simple-to-understand advice so that your trip images can be used as a personal journal and to engage readers on your blog and social media.
Learning the craft of travel photography as a lone traveller is a fulfilling ability, especially in this digital age when a picture really does say a thousand words. Whether you have a dedicated camera or are using the camera on your reliable smartphone, these simple pointers can help you capture the essence of your travels alone. Let’s dive into the world of photography, where every picture you take becomes a treasured chapter in your journey via solo travel.
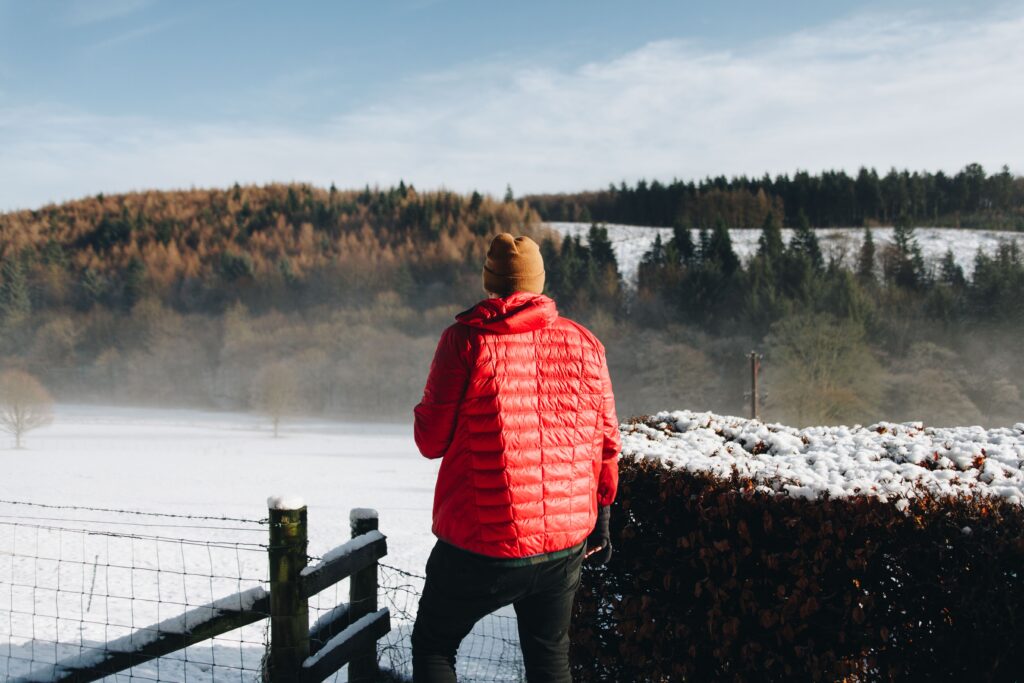
1. Embrace Natural Light:

Natural light is a powerful tool in creating stunning travel photos. Imagine the sun as your personal spotlight, casting a warm and inviting glow on your subjects. Here’s how you can make the most of this magical light source:
- Golden Hours:
- Definition: Golden hours are the periods shortly after sunrise and before sunset when the sun is low in the sky, creating soft, warm hues.
- Easy Tip: Plan your photo sessions during these times for a natural, flattering light that enhances the beauty of your surroundings.
- Avoid Harsh Midday Sun:
- Definition: Midday sun can be harsh and create strong shadows, making photos less appealing.
- Easy Tip: Seek shaded areas or shoot early morning or late afternoon to soften shadows and achieve a more pleasing look.
- Backlighting Techniques:
- Definition: Backlighting occurs when the light source is behind your subject, creating a halo effect or emphasizing outlines.
- Easy Tip: Experiment with shooting against the light to add a touch of drama to your photos. This works particularly well for capturing silhouettes.
- Cloudy Days Can Shine:
- Definition: Overcast days provide diffused light, reducing harsh shadows and offering a soft, even illumination.
- Easy Tip: Don’t shy away from shooting on cloudy days; they can produce beautiful, evenly lit images with a unique atmosphere.
- Indoor Natural Light:
- Definition: When indoors, position yourself near windows to utilize natural light streaming in.
- Easy Tip: Take advantage of soft window light for portraits or showcasing details. Avoid using harsh artificial lighting when possible.
By understanding and harnessing the magic of natural light, you’ll add a captivating and authentic touch to your solo travel photos. Let the sun be your ally in highlighting the beauty of your adventures!
2. Rule of Thirds:
Now that you’ve embraced the enchanting world of natural light, let’s delve into a fundamental principle of photography: the rule of thirds. This simple yet impactful technique can elevate your solo travel photos by enhancing their composition.
- Grid Basics:
- Definition: Envision your photo divided into a 3×3 grid with two horizontal and two vertical lines, creating nine equal sections.
- Easy Tip: Place key elements of your photo along these lines or at their intersections to achieve a visually balanced and engaging composition.
- Focal Points:
- Definition: Focal points are the main subjects or points of interest in your photo.
- Easy Tip: Identify your focal point, whether it’s a stunning landscape or a charming street scene, and position it along the grid lines for a more captivating result.
- Balancing Elements:
- Definition: Balance in photography ensures that no part of the image feels heavier than the rest.
- Easy Tip: Distribute visual weight by placing secondary elements along the opposite grid lines or in the remaining sections, creating harmony in your composition.
- Diverse Perspectives:
- Definition: Experimenting with different angles and perspectives adds depth and interest to your photos.
- Easy Tip: Move around your subject, trying various viewpoints. Apply the rule of thirds to guide your framing, making your solo travel shots more dynamic.
- Horizontal and Vertical Lines:
- Definition: Utilize the grid lines to align with prominent horizontal or vertical elements in your scene.
- Easy Tip: Aligning a horizon with one of the horizontal lines, for example, can bring balance and a sense of structure to your photo.
By incorporating the rule of thirds into your photography repertoire, you’ll find yourself creating visually appealing compositions that effortlessly draw viewers into the heart of your solo travel adventures. Stay tuned for more easy-to-follow tips to enhance your travel photography skills!
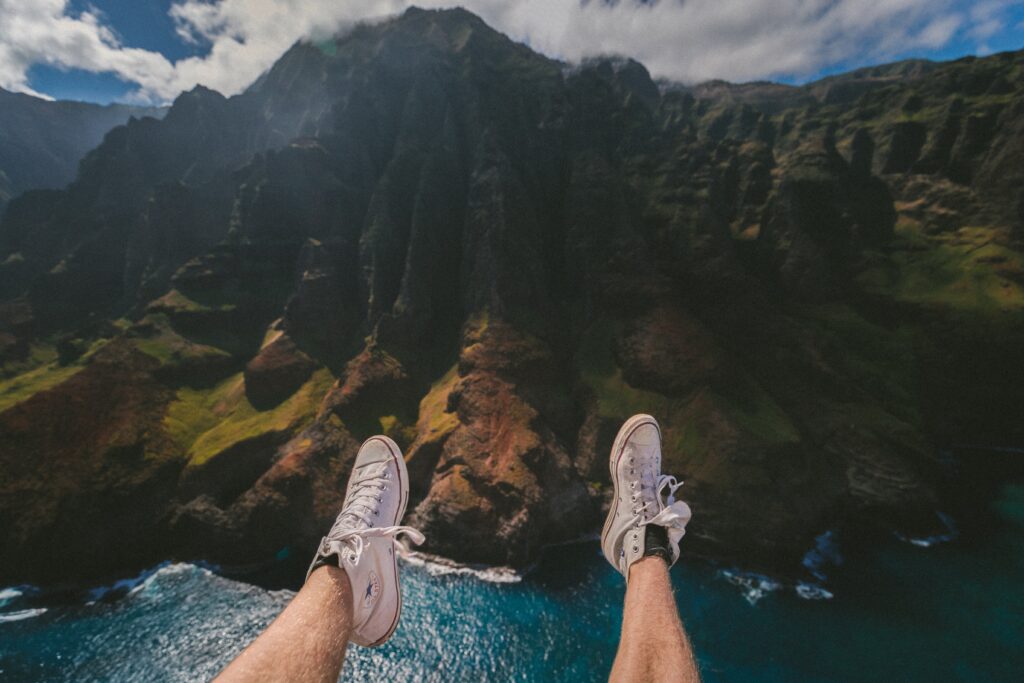
3. Experiment with Angles:

Having mastered the art of natural light and embraced the rule of thirds, it’s time to add a touch of creativity to your solo travel photography. The key lies in experimenting with angles and viewpoints, transforming ordinary scenes into extraordinary visual stories.
- Low-Angle Magic:
- Definition: Shooting from a low angle adds drama and impact to your photos, especially for capturing towering landmarks or vibrant street scenes.
- Easy Tip: Get down to ground level and frame your subject against the sky or surrounding elements to create a dynamic and compelling shot.
- High-Angle Views:
- Definition: Shooting from above provides a unique perspective, ideal for showcasing landscapes, crowded markets, or intricate patterns.
- Easy Tip: Find an elevated vantage point—whether it’s a hill, staircase, or balcony—to capture the scene from a bird’s-eye view.
- Experiment with Tilted Horizons:
- Definition: Tilting your camera slightly can add a sense of dynamism to your photos.
- Easy Tip: Play with tilted angles to create a sense of movement or to emphasize specific elements within your frame. This technique adds a modern and artistic flair.
- Close-Ups and Details:
- Definition: Zooming in on specific details provides a fresh perspective, revealing the beauty in the smaller elements of your surroundings.
- Easy Tip: Focus on textures, colors, or patterns up close to tell a more intimate story within the larger narrative of your solo travels.
- Frame Within a Frame:
- Definition: Use elements within your environment to frame your subject, adding depth and drawing attention to the main focal point.
- Easy Tip: Experiment with archways, windows, or natural frames to create a visually interesting composition that guides the viewer’s eye.
By incorporating these simple yet effective techniques into your photography repertoire, you’ll discover a newfound ability to infuse your solo travel images with creativity and a personal touch. Stay tuned for more tips to enhance your photography skills and capture the essence of your adventures!
4. Lightweight Tripod for Stability:
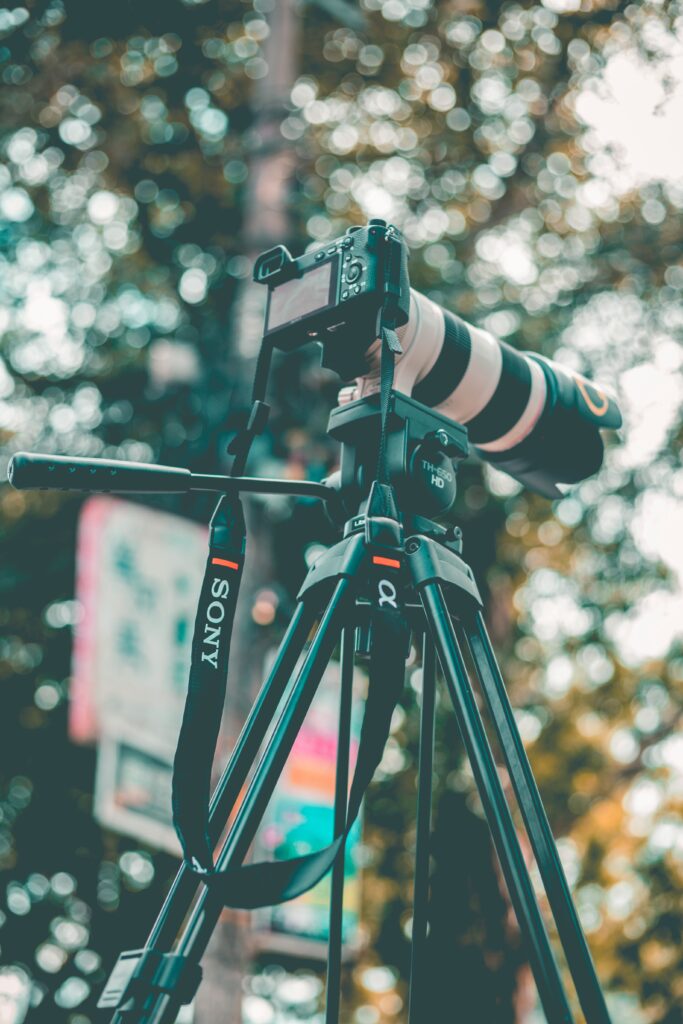
As you embark on your solo travel photography journey, introducing a lightweight tripod into your gear arsenal can be a game-changer. This simple accessory not only provides stability for your shots but also opens up possibilities for capturing stunning images in various situations.
- Steady Self-Portraits:
- Definition: A tripod allows you to set up your camera and capture self-portraits without the need for assistance.
- Easy Tip: Extend the tripod to your preferred height, set the timer on your camera or smartphone, and strike a pose. This ensures sharp and well-composed solo shots.
- Long-Exposure Opportunities:
- Definition: Long-exposure shots, capturing movement over an extended period, can result in breathtaking effects like silky waterfalls or star trails.
- Easy Tip: Use a tripod for stability during long exposures, reducing the risk of camera shake and achieving crisp, detailed images.
- Versatility in Challenging Conditions:
- Definition: In low-light conditions or challenging environments, a tripod stabilizes your camera for clear and blur-free photos.
- Easy Tip: When faced with dimly lit scenes or uneven terrain, set up your tripod to maintain image quality and unleash your creativity.
- Time-Lapse Brilliance:
- Definition: Time-lapse videos capture the passage of time, showcasing changes in landscapes or bustling city scenes.
- Easy Tip: Mount your camera on a tripod, set the interval timer, and let the tripod keep your camera steady for the duration of the time-lapse, resulting in smooth and captivating footage.
- Compact and Portable Options:
- Definition: Lightweight tripods are designed for easy transportation, fitting seamlessly into your travel gear.
- Easy Tip: Invest in a compact tripod that collapses to a manageable size. This ensures you can carry it effortlessly, enhancing your photography capabilities without adding bulk.
By incorporating a lightweight tripod into your solo travel photography toolkit, you not only achieve stability but also open the door to a multitude of creative possibilities. Stay tuned for more tips to enhance your photography skills and capture the essence of your solo adventures!
5. Connect with Locals:

Photography isn’t just about capturing images; it’s about telling stories. As a solo traveler, one of the most rewarding ways to enhance your narrative is by connecting with locals. These authentic interactions not only provide cultural insights but also offer valuable perspectives to elevate your photography game.
- Ask for Photo Tips:
- Definition: Locals often have unique insights into the best photo spots and angles in their area.
- Easy Tip: Strike up conversations with residents and kindly ask for their recommendations on capturing the essence of the destination through your lens.
- Guided Tours by Locals:
- Definition: Locals can serve as your personal guides, revealing hidden gems and sharing stories that add depth to your photos.
- Easy Tip: Consider hiring a local guide or joining community tours to explore off-the-beaten-path locations and gain access to insider knowledge.
- Capture Everyday Life:
- Definition: Authentic travel photos often showcase the daily lives of locals, providing a genuine portrayal of the destination.
- Easy Tip: Observe and document everyday activities, such as markets, ceremonies, or local gatherings, to add a cultural dimension to your solo travel album.
- Respect Cultural Sensitivities:
- Definition: Being mindful of cultural nuances ensures that your interactions are respectful and enriching.
- Easy Tip: Learn about local customs, ask for permission before taking portraits, and engage in a friendly manner. This fosters genuine connections and trust.
- Include Locals in Your Shots:
- Definition: Incorporating locals in your photos adds a human touch and narrative to your solo travel story.
- Easy Tip: Politely ask for permission to include people in your shots. Candid moments of locals engaging in their surroundings contribute to a richer visual story.
By actively seeking connections with locals during your solo travels, you not only enhance your photography skills but also gain a deeper understanding of the places you visit. Stay tuned for more tips to enrich your solo travel experiences and capture moments that truly tell your unique story!
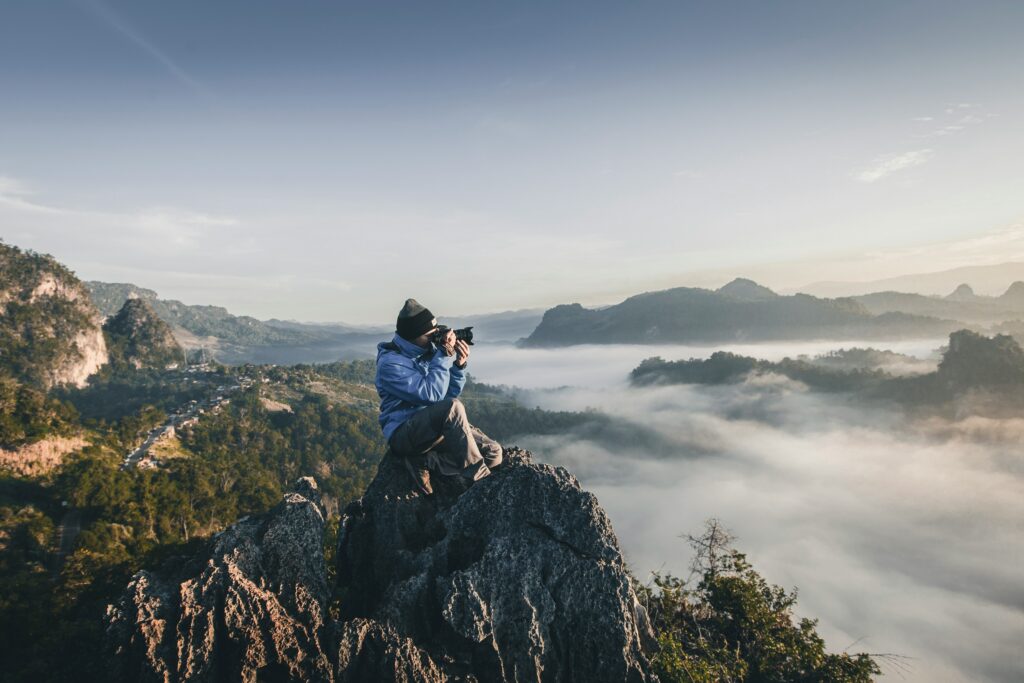
6. Candid Moments Tell Stories:

As you continue your solo travel photography journey, the magic lies in capturing genuine, unposed moments that unfold organically. Candid shots not only tell a more authentic story but also provide a window into the real essence of the places you explore. Here’s how you can master the art of capturing candid moments:
- Observation is Key:
- Definition: Candid moments often happen when people are unaware of the camera’s presence.
- Easy Tip: Take time to observe your surroundings and anticipate interesting interactions or activities. Patience is your ally in capturing those unscripted moments.
- Blend In with the Environment:
- Definition: Make an effort to blend in and become part of the scene rather than standing out as a photographer.
- Easy Tip: Dress inconspicuously and carry minimal equipment to avoid drawing too much attention. This allows people to act naturally in your presence.
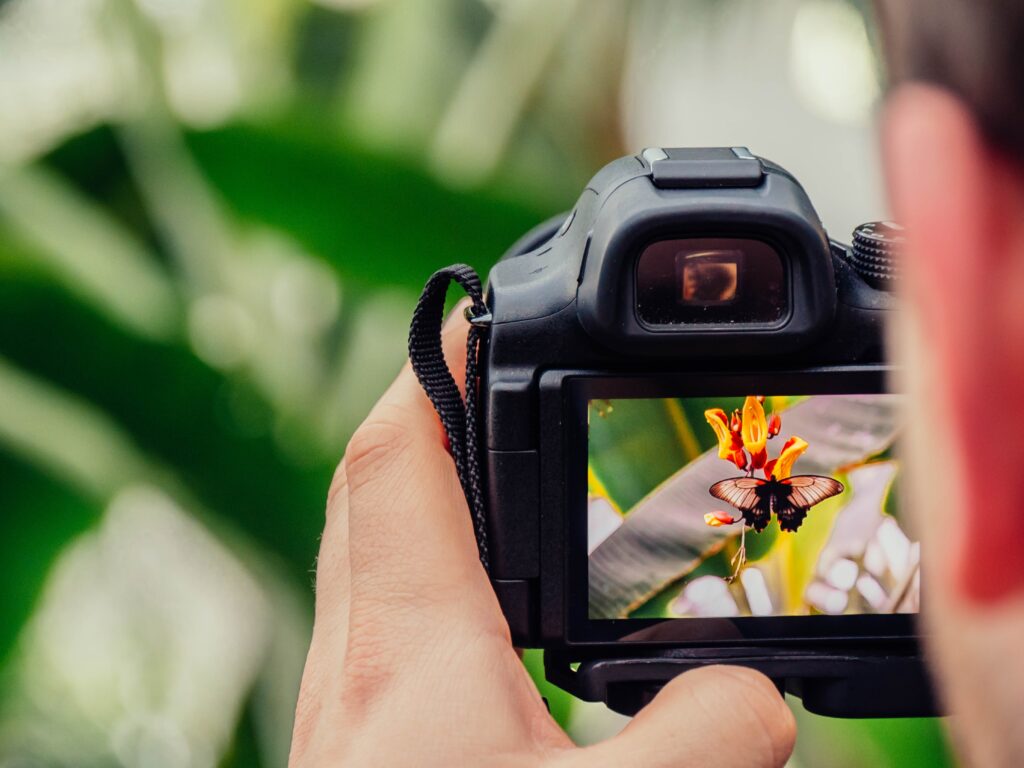
- Use a Telephoto Lens:
- Definition: A telephoto lens allows you to capture candid moments from a distance without intruding on personal space.
- Easy Tip: Invest in a lightweight telephoto lens for your camera or use the zoom feature on your smartphone to discreetly capture candid scenes without disrupting the flow.
- Storytelling Through Details:
- Definition: Candid shots can also focus on small details that contribute to the overall narrative.
- Easy Tip: Zoom in on expressive faces, unique gestures, or captivating details in the environment. These close-ups add emotional depth to your storytelling.
- Be Approachable:
- Definition: Establishing a friendly and approachable demeanor encourages people to let their guard down.
- Easy Tip: Smile, make eye contact, and show genuine interest in the local culture. This creates a comfortable atmosphere, making it more likely for authentic moments to unfold in front of your lens.
- Capture Emotions Naturally:
- Definition: Genuine emotions, whether joy, surprise, or contemplation, create powerful and relatable photographs.
- Easy Tip: Focus on people’s expressions and body language. Candid shots of authentic emotions provide a more profound connection between the viewer and your travel narrative.
- Respect Privacy and Consent:
- Definition: Respectful photography involves obtaining consent when necessary and avoiding intrusive shots.
- Easy Tip: If someone seems uncomfortable or requests privacy, honor their wishes. Always ask for permission before taking close-up portraits, ensuring a positive and ethical photography experience.
By incorporating candid moments into your solo travel photography, you weave a rich tapestry of experiences that go beyond staged poses. These authentic snapshots become the heart of your travel story, allowing viewers to connect with the genuine spirit of the places you explore. Stay tuned for more tips to enhance your photography skills and capture the essence of your solo adventures!
7. Pack Light and Smart:
As you continue your solo travel photography expedition, the importance of packing light becomes evident. A nimble and efficient setup not only eases your journey but also allows you to be more spontaneous in capturing the diverse moments of your adventure. Here’s how to pack light and smart for your solo photography escapades:
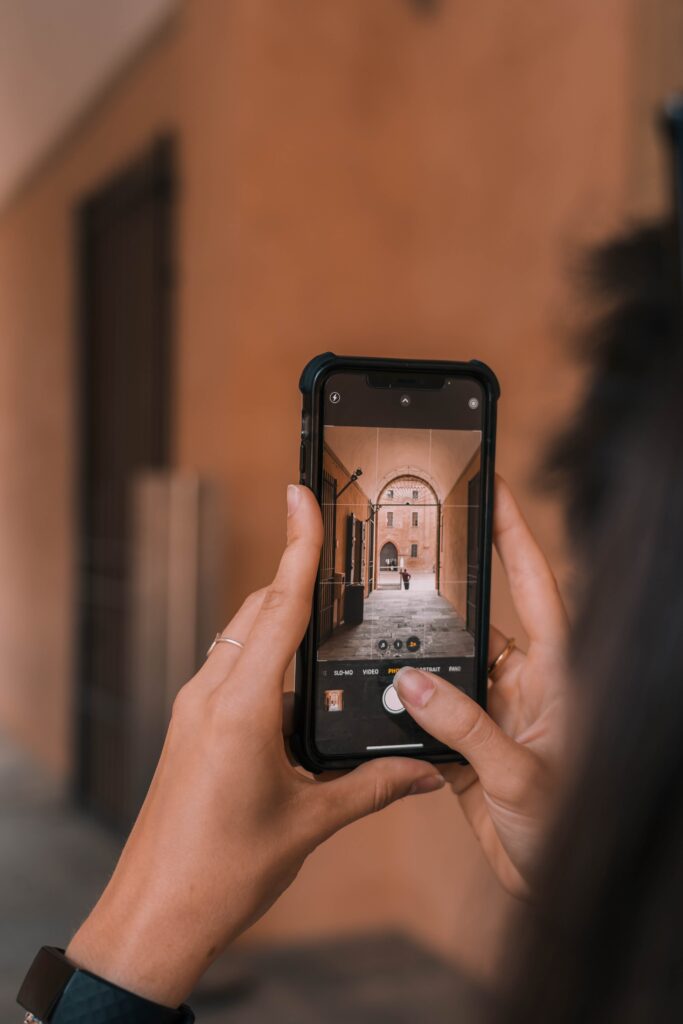
- Choose a Versatile Camera:
- Definition: Opt for a camera that strikes a balance between portability and performance.
- Easy Tip: Consider using a high-quality smartphone with advanced camera features or invest in a compact mirrorless camera. This ensures you have a capable device without the bulk.
- Essential Lenses:
- Definition: Select lenses based on your preferences and the type of photography you enjoy.
- Easy Tip: A versatile prime lens or an everyday zoom lens can cover a wide range of scenarios. Limiting your lens selection keeps your gear lightweight while offering flexibility.
- Compact Tripod:
- Definition: Choose a lightweight and collapsible tripod for stability without adding significant weight to your travel gear.
- Easy Tip: Look for tripods designed for portability, allowing you to set up stable shots, capture self-portraits, or explore long-exposure photography without the burden of a heavy setup.
- Minimal Accessories:
- Definition: Streamline your accessories to the essentials to reduce the weight of your camera bag.
- Easy Tip: Carry extra batteries, a lens cleaning kit, and a few memory cards. Keep additional accessories to a minimum, focusing on what you genuinely need for your photography style.
- Protective and Portable Gear:
- Definition: Invest in protective gear for your camera and accessories while keeping everything easily accessible.
- Easy Tip: Use a well-padded camera bag with compartments for efficient organization. Consider weather-resistant covers to shield your gear from unexpected rain or dust.
- Smartphone Photography Accessories:
- Definition: Enhance your smartphone photography with simple accessories.
- Easy Tip: Explore clip-on lenses for different perspectives, a portable smartphone tripod, and a power bank to ensure your device stays charged during your adventures.
- Multi-Purpose Gadgets:
- Definition: Opt for gadgets that serve multiple purposes to reduce the number of items you carry.
- Easy Tip: Choose a smartphone with robust camera capabilities, eliminating the need for a separate camera and phone. Look for gadgets like a combination tripod/selfie stick for added versatility.
- Streamlined Editing Tools:
- Definition: Simplify your post-processing workflow with user-friendly editing apps.
- Easy Tip: Use apps that allow you to adjust exposure, color, and composition easily. Maintaining a consistent editing style across your photos creates a cohesive look for your travel blog.
By adopting a minimalist and strategic approach to your photography gear, you not only lighten your load but also open up opportunities to be more agile and responsive to the unique moments your solo travels unfold. Stay tuned for additional tips to further refine your photography skills and enrich your solo travel experiences!
8. Edit Wisely:
Now that you’ve mastered the art of capturing moments on your solo adventures, it’s time to polish and enhance your images through thoughtful post-processing. While the editing process may sound daunting, adopting a wise and straightforward approach can elevate your photos while maintaining their authenticity. Here’s how to edit your solo travel photos with ease:
- User-Friendly Editing Apps:
- Definition: Choose editing apps that are intuitive and easy to navigate, catering to your skill level.
- Easy Tip: Explore popular apps like Snapseed, VSCO, or Adobe Lightroom Mobile. These apps offer user-friendly interfaces and a range of editing tools to enhance your photos.
- Adjust Exposure and Contrast:
- Definition: Fine-tune the brightness, shadows, and highlights to achieve a balanced exposure.
- Easy Tip: Use simple sliders in your editing app to adjust exposure and contrast. Aim for a natural look that enhances the details without sacrificing realism.
- Color Correction:
- Definition: Ensure accurate and vibrant colors by correcting color balance and saturation.
- Easy Tip: Adjust the temperature and tint settings to achieve natural colors. Be mindful not to oversaturate, maintaining a realistic representation of the scene.
- Crop for Composition:
- Definition: Refine your composition by cropping or straightening your photo.
- Easy Tip: Use the cropping tool to eliminate distractions, focus on your main subject, or enhance the overall composition. Keep in mind the rule of thirds for well-balanced results.
- Maintain a Consistent Style:
- Definition: Establish a cohesive look for your photos by maintaining a consistent editing style.
- Easy Tip: Experiment with filters or presets, but aim for a uniform aesthetic across your images. Consistency creates a visually pleasing and harmonious feed on your blog or social media.
- Preserve Details:
- Definition: Retain the details in your photos without over-sharpening or introducing artifacts.
- Easy Tip: Use sharpening sparingly to enhance details, but avoid excessive adjustments that may result in an unnatural appearance. Balancing sharpness maintains a clean and polished look.
- Remove Distractions:
- Definition: Eliminate unwanted elements or distractions in your photos.
- Easy Tip: Use the healing brush or clone tool to remove blemishes, stray objects, or distractions. This helps direct the viewer’s focus to the main subject of your photo.
- Before and After Comparison:
- Definition: Compare your edited version with the original to ensure improvements without losing the essence of the moment.
- Easy Tip: Most editing apps provide a quick before-and-after preview. Use this feature to assess changes and ensure your edits enhance, not overshadow, the authenticity of your solo travel photos.
By approaching post-processing with simplicity and a focus on enhancing rather than overhauling, you’ll refine your solo travel images while preserving the genuine spirit of your adventures. Stay tuned for more tips to further elevate your photography skills and share the essence of your solo explorations!
9. Self-Portrait Tips:
As a solo traveler, mastering the art of self-portraits allows you to feature prominently in your travel stories. Whether you’re capturing the awe-inspiring landscapes you encounter or documenting your personal journey, incorporating yourself into the frame adds a valuable and relatable dimension to your solo travel photography. Here are some tips to help you confidently create captivating self-portraits:
- Use a Tripod for Stability:
- Definition: Ensure sharp and well-composed self-portraits by using a tripod to stabilize your camera.
- Easy Tip: Set up your tripod, adjust the height, and frame your shot. This hands-free approach allows you to capture the scene while featuring yourself in the context of your surroundings.
- Utilize Timer Functions:
- Definition: Take advantage of your camera or smartphone’s timer function to allow for a delay between pressing the shutter button and capturing the photo.
- Easy Tip: Set a timer to give yourself enough time to pose naturally. This eliminates the need to rush into position and ensures a more relaxed and authentic self-portrait.
- Experiment with Different Poses:
- Definition: Explore various poses to find the ones that feel most natural and authentic to your personality.
- Easy Tip: Practice different poses, expressions, and gestures in front of your camera. Don’t be afraid to be playful or experiment with more serious expressions to convey different moods.
- Consider the Background:
- Definition: Your choice of background can significantly impact the overall composition of your self-portraits.
- Easy Tip: Select backgrounds that complement your story and enhance the mood of the photo. Whether it’s a picturesque landscape or a vibrant cityscape, make sure it adds context to your solo adventures.
- Frame Within the Frame:
- Definition: Incorporate elements within your environment to frame yourself in the shot, adding depth and visual interest.
- Easy Tip: Position yourself near natural frames like doorways, windows, or arches. This not only enhances the composition but also draws attention to you as the focal point.
- Experiment with Focal Lengths:
- Definition: Adjust the focal length of your lens to achieve different perspectives in your self-portraits.
- Easy Tip: If you’re using a zoom lens or a smartphone with multiple lenses, experiment with different focal lengths. Wide-angle shots capture more of the surroundings, while telephoto lenses provide a flattering close-up perspective.
- Natural Lighting is Key:
- Definition: Utilize natural light to illuminate your self-portraits, creating a flattering and authentic look.
- Easy Tip: Position yourself facing the light source, whether it’s soft sunlight during golden hours or diffused light on cloudy days. Avoid harsh shadows for a more flattering result.
- Express Your Personality:
- Definition: Let your personality shine through in your self-portraits, showcasing the real you.
- Easy Tip: Whether you’re smiling, contemplative, or adventurous, aim to convey genuine emotions in your self-portraits. Authenticity adds a personal touch to your solo travel narrative.
By incorporating these self-portrait tips into your solo travel photography routine, you’ll confidently feature yourself in the diverse landscapes and cultures you encounter. Stay tuned for additional tips to further enhance your photography skills and capture the essence of your solo adventures!
10. Practice, Learn, and Enjoy:
As you continue your solo travel photography journey, the key to improvement lies in practice, continuous learning, and, most importantly, enjoying the process. Building your skills as a solo photographer involves honing your craft over time and embracing every opportunity to capture the unique moments of your adventures. Here’s how you can cultivate and enhance your solo travel photography skills:
- Practice Regularly:
- Definition: Consistent practice is the foundation of improvement in any skill, including photography.
- Easy Tip: Dedicate time to regularly take photos, even in familiar surroundings. Experiment with different techniques, compositions, and lighting conditions to refine your abilities.
- Learn from Your Shots:
- Definition: Each photo is an opportunity to learn and grow as a photographer.
- Easy Tip: Review your photos critically. Identify what works well and areas for improvement. Consider the composition, lighting, and overall storytelling aspect of each image.
- Experiment with Camera Settings:
- Definition: Understanding and experimenting with your camera settings allows you to have more control over your shots.
- Easy Tip: Explore different modes, apertures, shutter speeds, and ISO settings. This hands-on experimentation helps you discover the capabilities of your camera and how these settings influence your photos.
- Seek Inspiration:
- Definition: Drawing inspiration from other photographers can spark creativity and provide new ideas.
- Easy Tip: Follow photographers whose work resonates with you on social media platforms. Analyze their compositions and styles to gain insights that you can incorporate into your own photography.
- Engage in Online Communities:
- Definition: Joining photography forums or social media groups allows you to connect with fellow enthusiasts and learn from their experiences.
- Easy Tip: Participate in discussions, share your work, and ask for constructive feedback. Engaging with a community provides valuable insights and encourages a supportive learning environment.
- Attend Workshops or Classes:
- Definition: Workshops or classes offer structured learning opportunities to enhance specific aspects of your photography.
- Easy Tip: Look for online or local workshops covering topics such as composition, editing, or storytelling. These focused sessions can deepen your understanding and improve your skills.
- Document Your Journey:
- Definition: Your solo travel photography is not just about the final images; it’s also a visual diary of your personal journey.
- Easy Tip: Use your photos to document your experiences, challenges, and growth as a traveler and photographer. Reflecting on your journey through your photos adds a meaningful layer to your solo adventures.
- Embrace Mistakes as Learning Opportunities:
- Definition: Mistakes are an inevitable part of the learning process.
- Easy Tip: Don’t be afraid to make mistakes; instead, view them as opportunities to learn and improve. Analyze what went wrong and use that knowledge to enhance your future shots.
Remember, the joy of solo travel photography lies not only in the final images but also in the continuous journey of growth and self-expression. Enjoy every moment behind the lens, and let your unique perspective shine through in your solo travel narrative. Stay tuned for more tips to inspire and guide you on your photography adventures!
Remember that each click you make while on your solo travel photography experience is a piece of your own tale captured. To enhance your story, take use of the natural light’s beauty, play around with composition, and establish a rapport with the community. Every photo, whether they are candid shots or self-portraits, represents a step in your learning process.
Most essential, have fun during the process and pack and edit sensibly. Develop your abilities by practicing frequently, taking notes on your photographs, and looking to other photographers for inspiration. Your photography of solo travel is more than just images; it’s a window into your personal development and experiences.
Therefore, enjoy the process of learning, celebrate your journey, and allow the amazing experiences you’ve had be captured in your solo travel images. May every click as you hone your abilities get you one step closer to expressing the real spirit of your solitary discoveries. Happy clicking and travelling!